Watuba Documentation
Complete guides to help you get the most out of Watuba's people management features
Table of Contents
Getting Started
1. Creating Your Account
To get started with Watuba, sign up for an account.
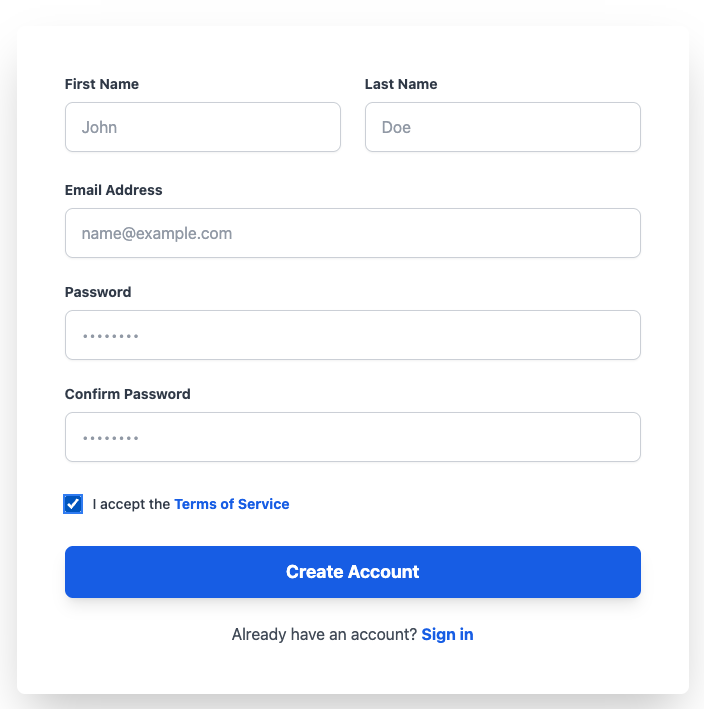
Screenshot Placeholder: Sign-up form
2. Setting Up Your Organization
After signing up, you'll create your organization profile. Fill in your company details, address, and industry information.
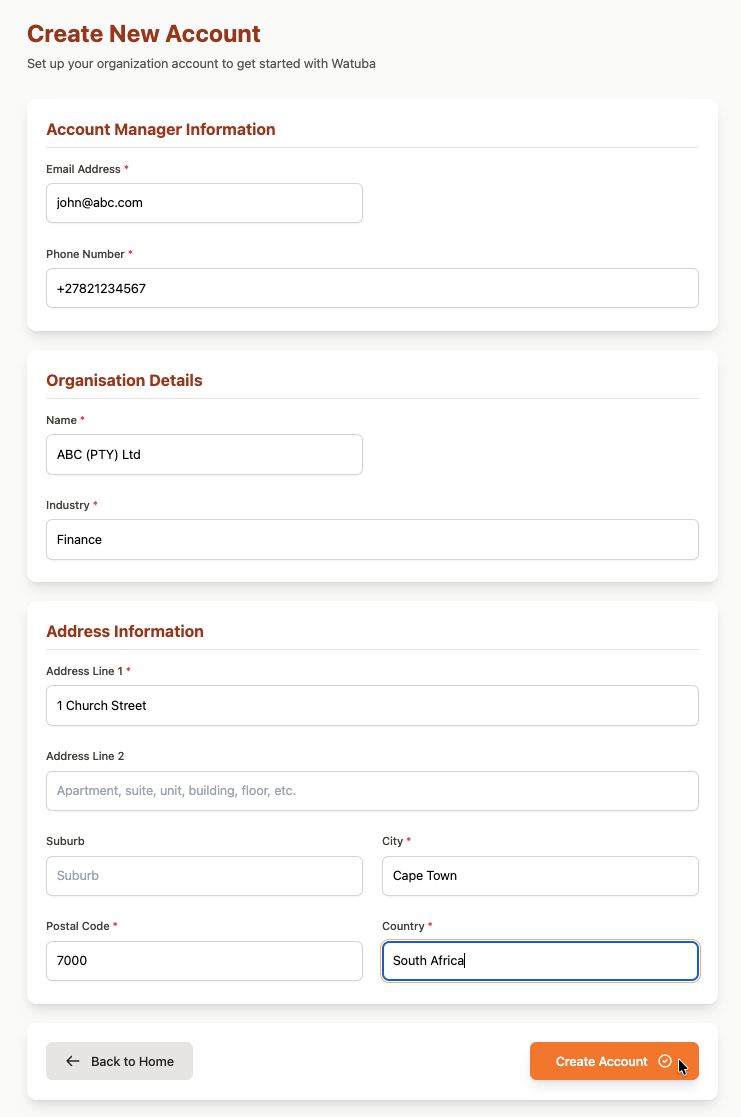
Screenshot Placeholder: Organization setup form
3. Dashboard Overview
Your dashboard provides a quick overview of your organization's key metrics, including pending leave requests, expense claims awaiting approval, and employee statistics.
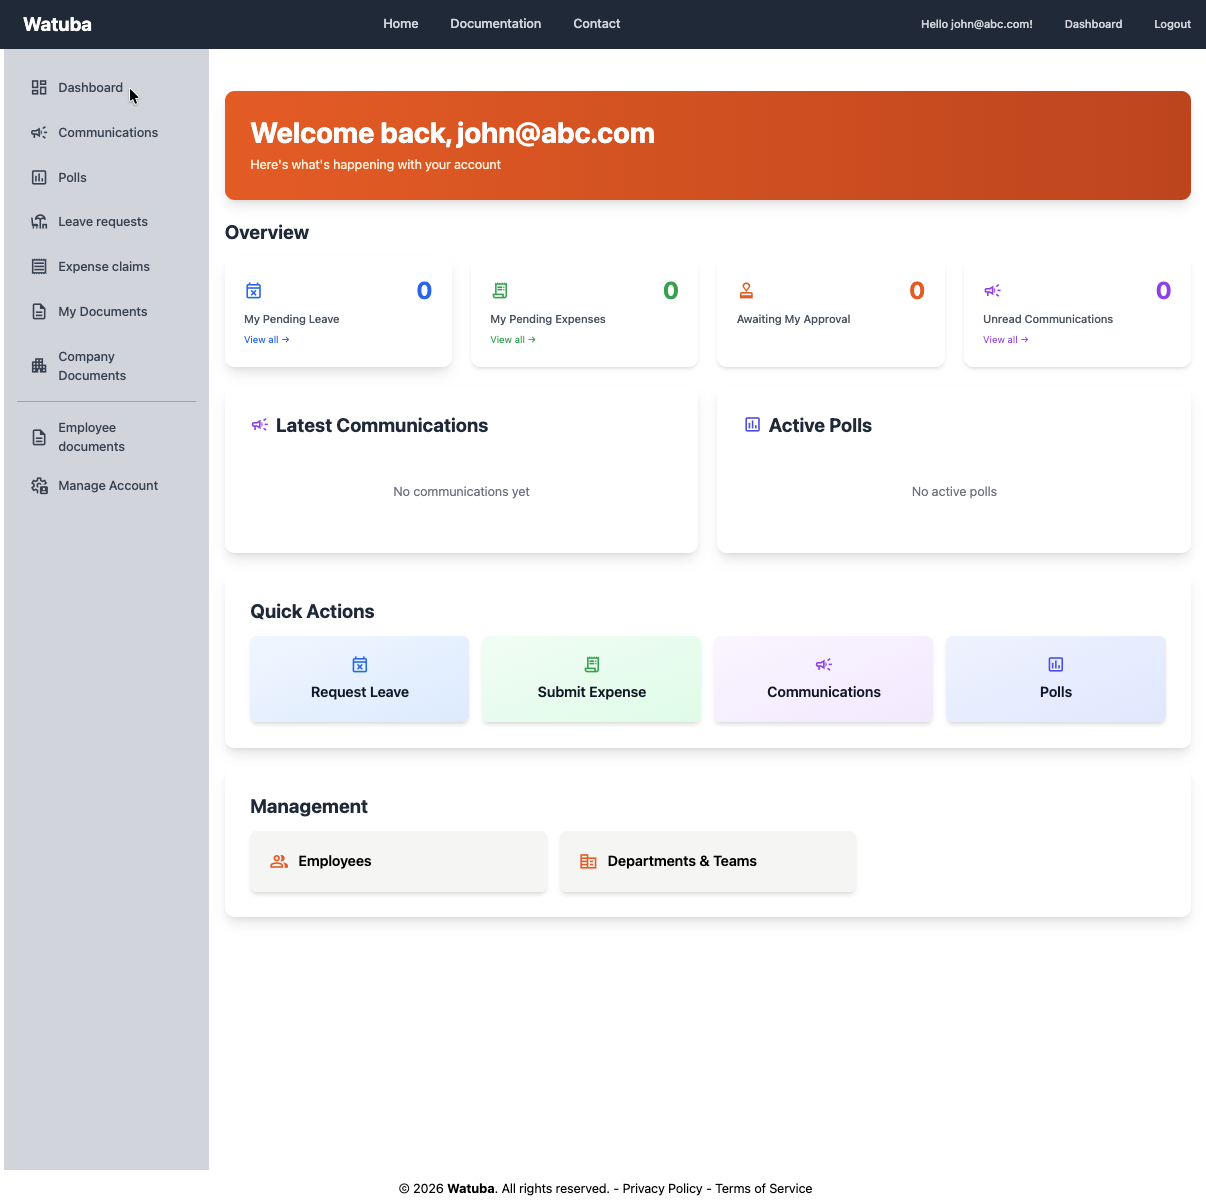
Screenshot Placeholder: Dashboard overview
Employee Management
Adding New Employees
Manage your workforce effortlessly by adding employees to your organization. Click "Add Employee" and fill in their personal information, email, role, and department assignment.
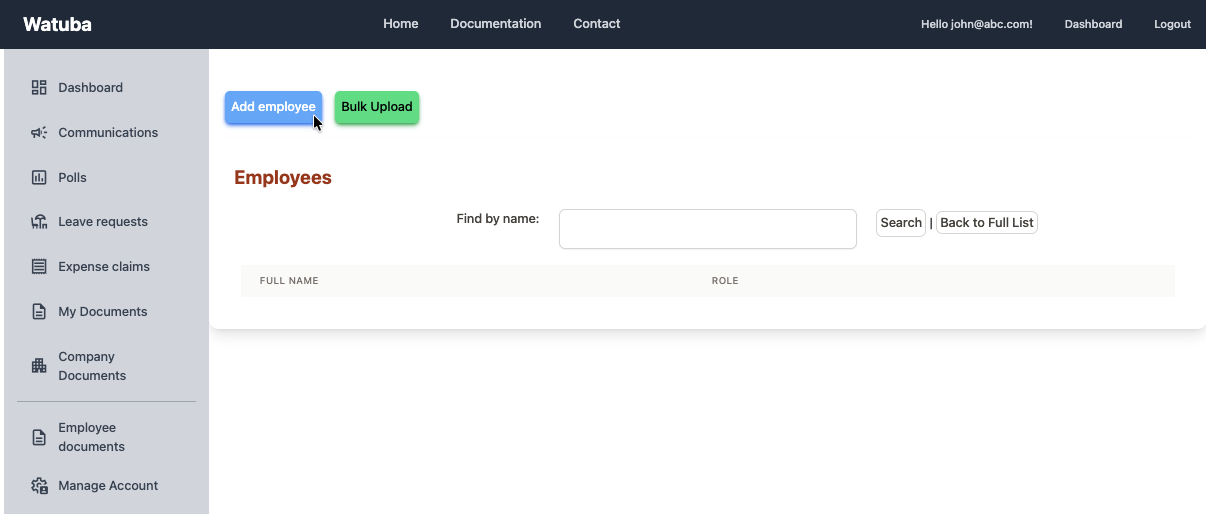
Screenshot Placeholder: Add employee form
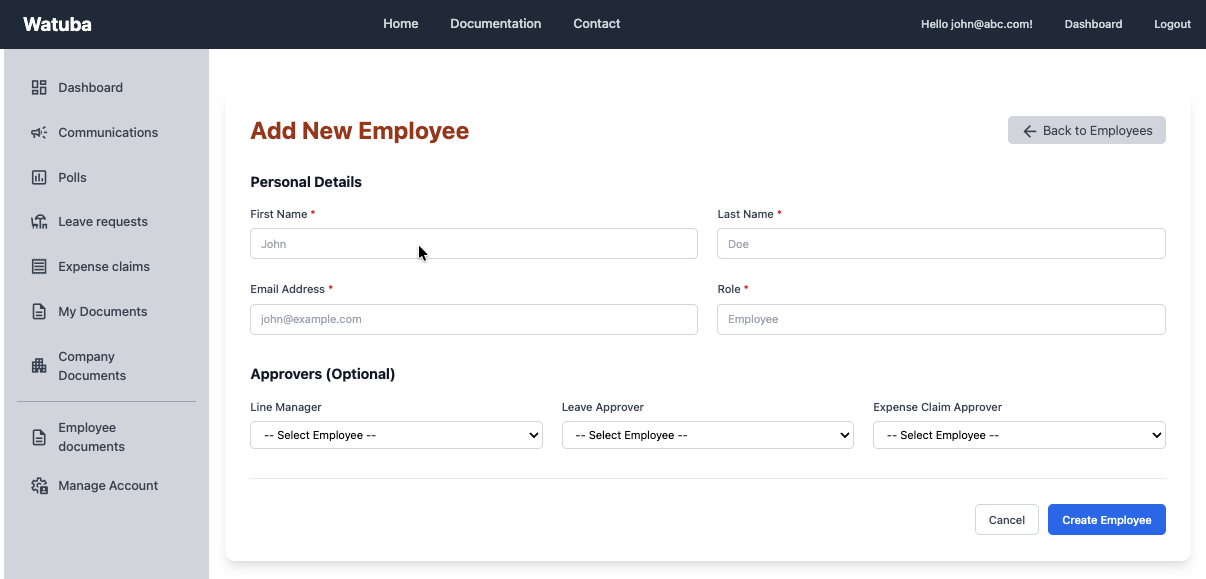
Screenshot Placeholder: Add employee form
Tip: When you add an employee, they will automatically receive an invitation to create their account.
Organizing with Departments and Teams
Create departments and teams within your organization to better structure your workforce. Assign employees to departments and teams for easier management and reporting.
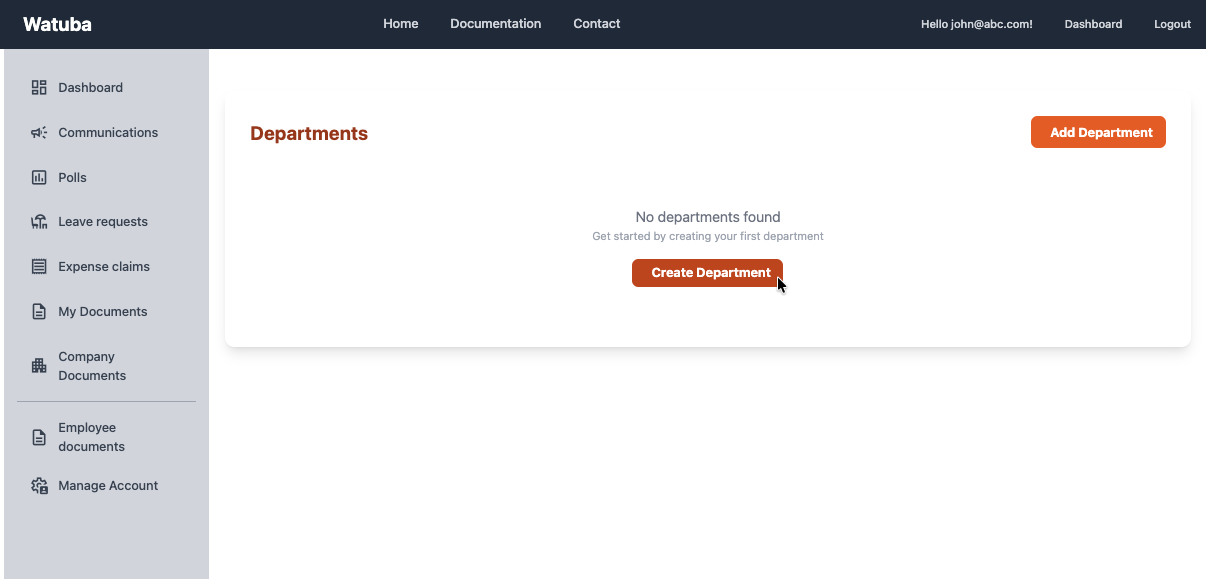
Screenshot Placeholder: Department and team management
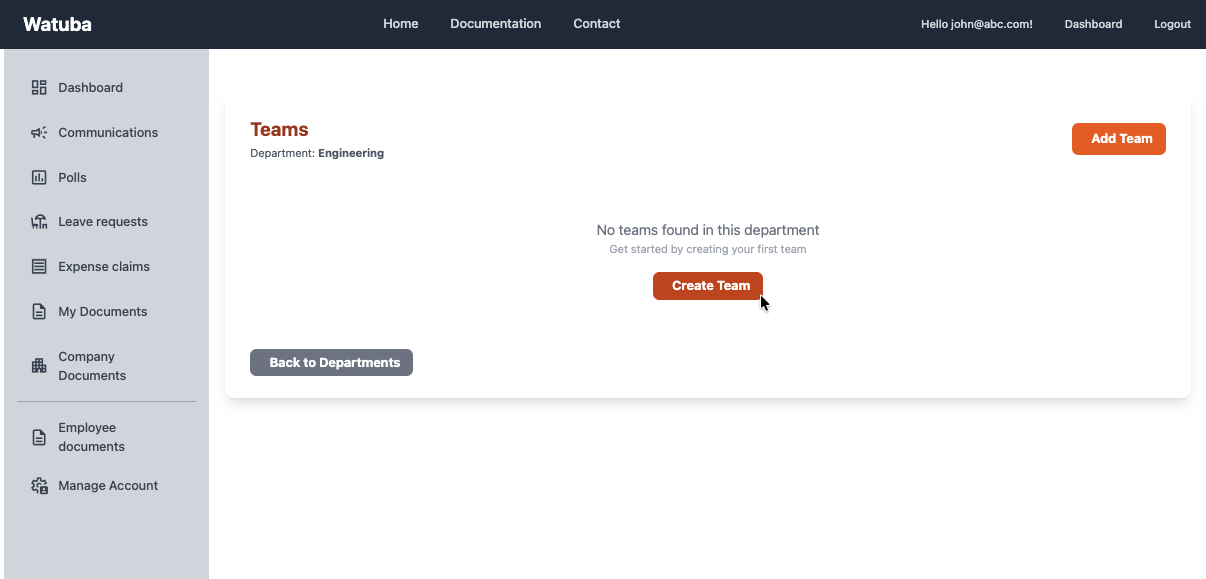
Screenshot Placeholder: Department and team management
Managing Employee Information
Keep employee records up-to-date by editing employee profiles. Watuba allows you to store comprehensive employee data in one centralized location, including role, department, and line manager assignments.
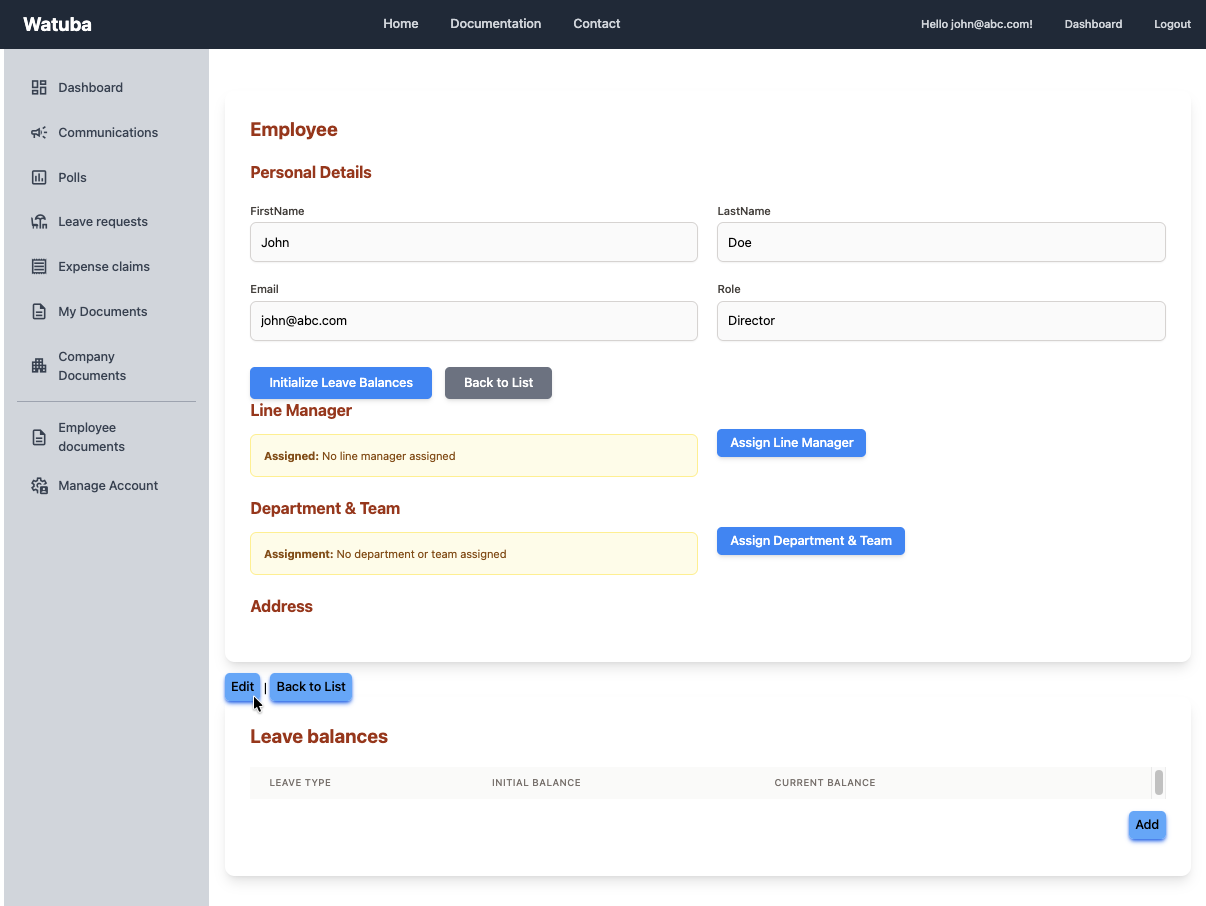
Screenshot Placeholder: Employee profile management
Bulk Upload Employees
If you have a large number of employees to add, use the bulk upload feature. Prepare a CSV file with employee information and upload it to add multiple employees at once.
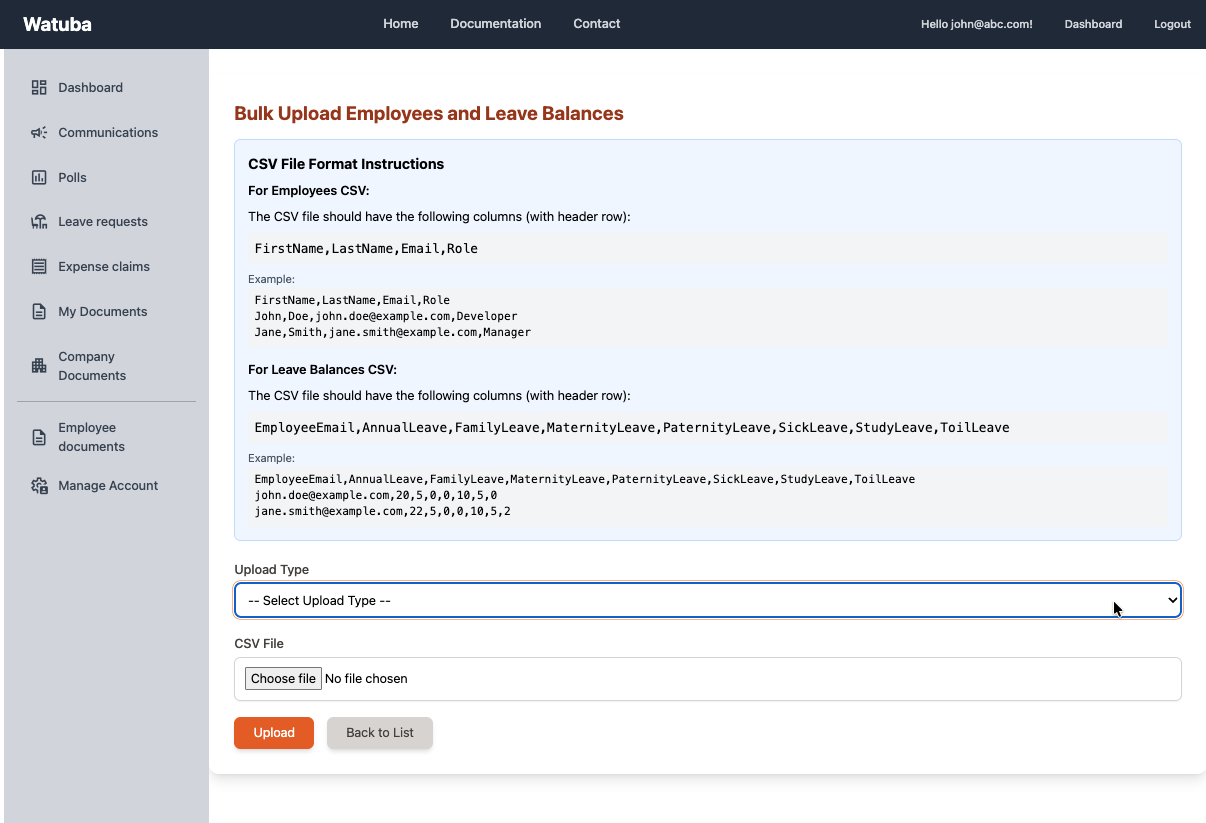
Screenshot Placeholder: Bulk upload interface
Leave Management
Setting Up Leave Balances
Configure leave types and allocate leave balances to employees. Define annual leave, sick leave, and other leave types with their corresponding day allocations for each year.
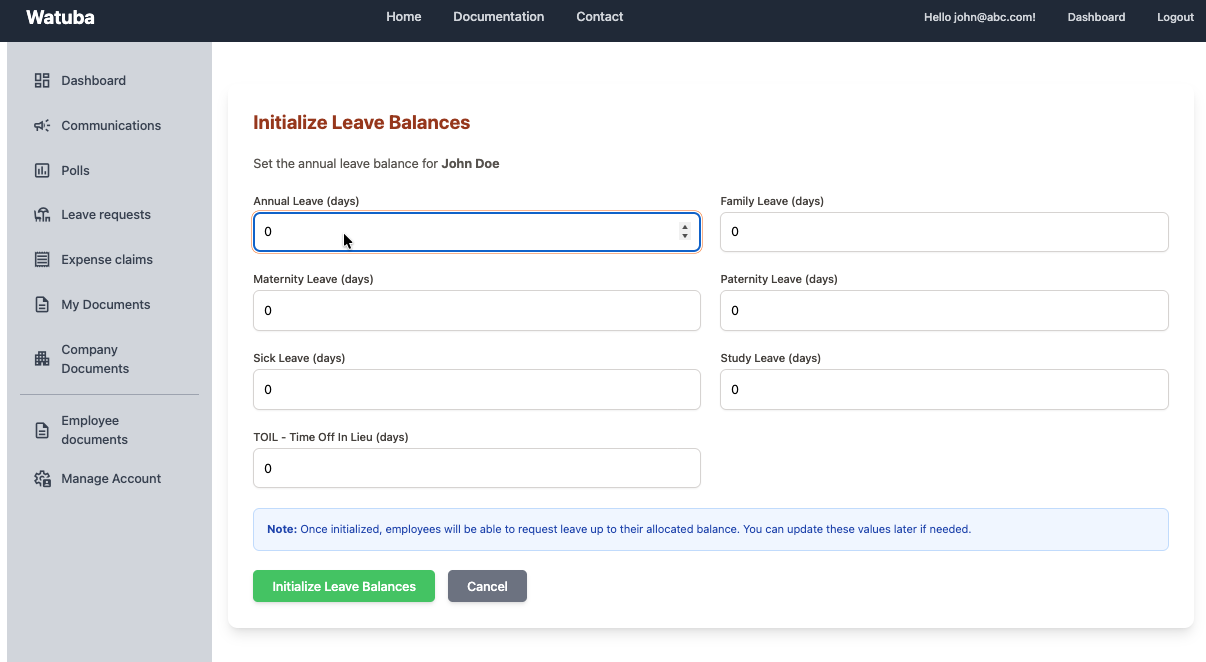
Screenshot Placeholder: Leave balance configuration
Submitting Leave Requests
Employees can easily request leave by selecting the leave type, date range, and providing any comments. The system automatically calculates the number of days excluding weekends and public holidays.
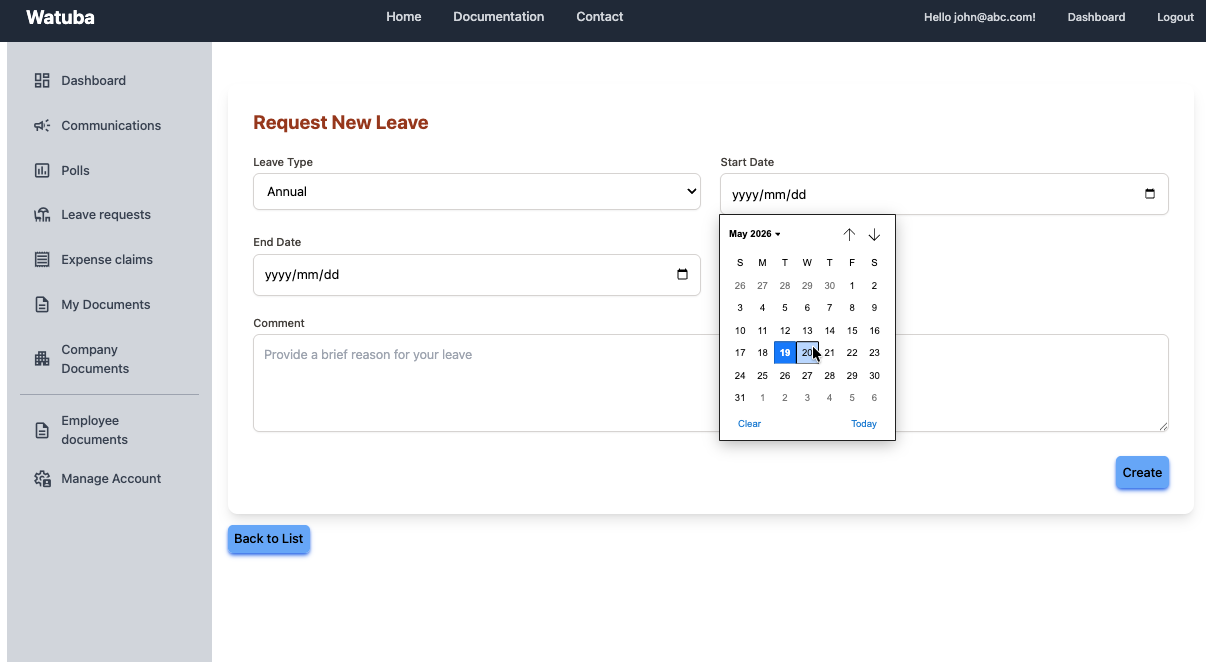
Screenshot Placeholder: Leave request form
Approving or Rejecting Leave Requests
As a line manager, you'll see pending leave requests from your team members. Review each request and approve or reject them. All decisions are recorded for audit purposes.

Screenshot Placeholder: Leave approval interface
Tip: Only line managers see leave requests from their direct reports. This ensures proper approval hierarchy.
Viewing Leave History
Track your leave history and current balances. View all your leave requests, approvals, and remaining leave days for each leave type.
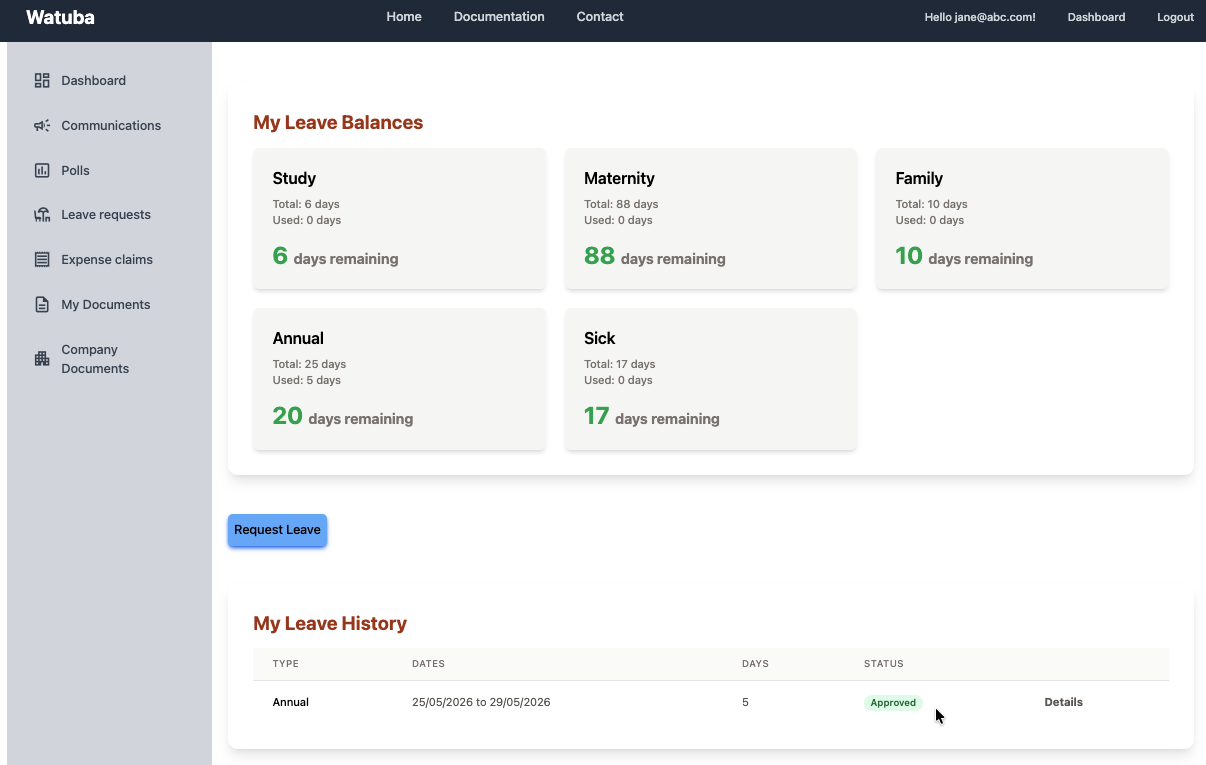
Screenshot Placeholder: Leave history and balances
Document Management
Uploading Employee Documents
Store important employee documents securely. Upload employment contracts, qualifications, certifications, and other employee-related documents. Each document is categorized for easy organization.
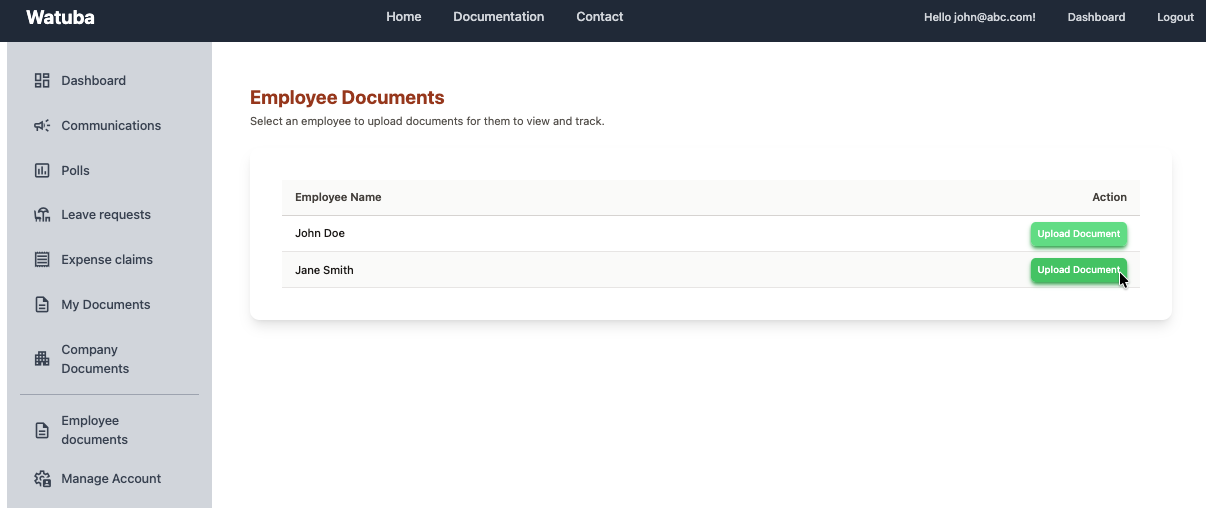
Screenshot Placeholder: Document upload interface
Managing Organization Documents
Upload and manage organization-wide documents such as policies, procedures, and compliance documents. Mark documents as required reading to ensure all employees acknowledge them.
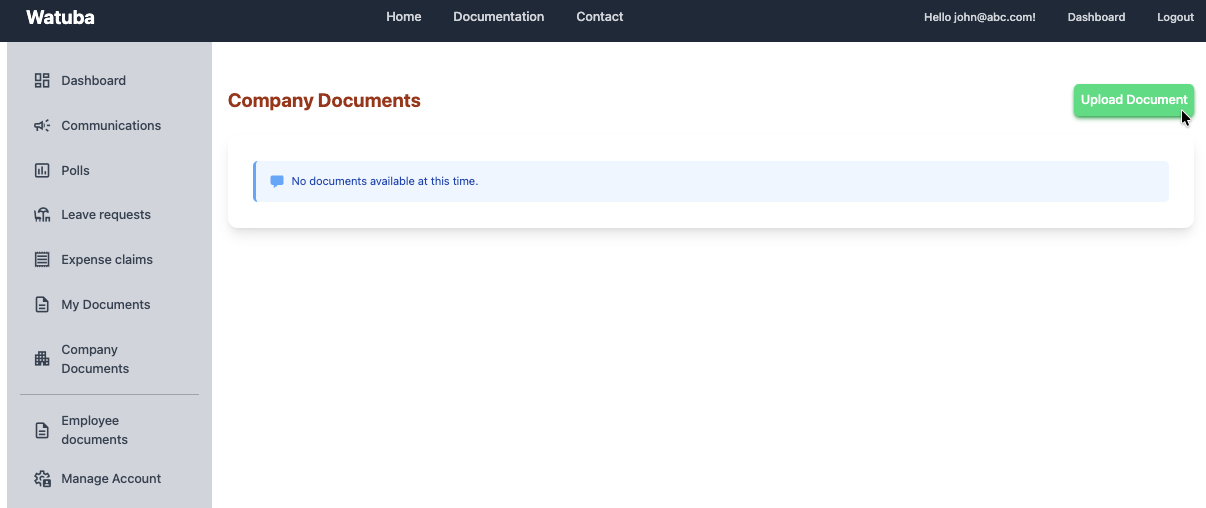
Screenshot Placeholder: Organization document management
Accessing Your Documents
As an employee, view and download your personal documents shared by your organization. Download your employment documents, certificates, or any other files your employer has provided.
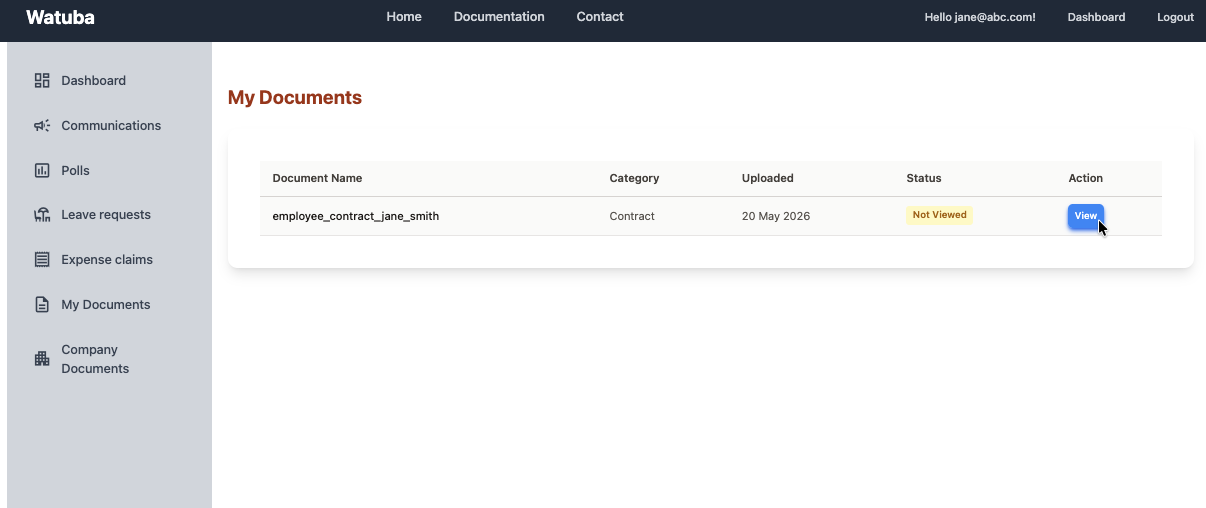
Screenshot Placeholder: Employee document access
Document Expiry and Required Reading
Set expiry dates on documents and mark them as required reading. Track which employees have viewed and acknowledged important documents.
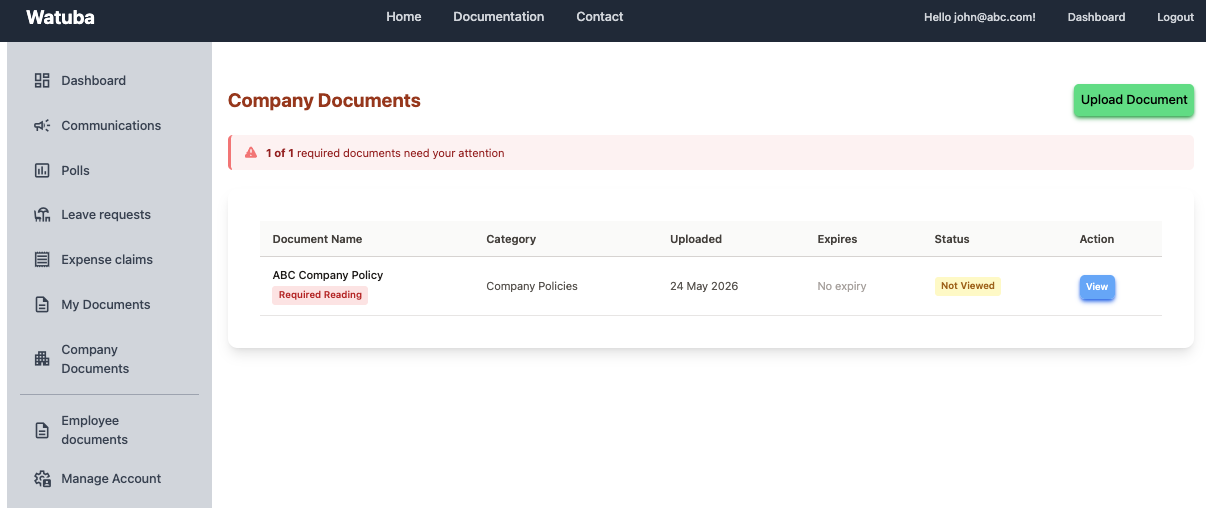
Screenshot Placeholder: Document tracking and compliance
Expense Claims
Creating an Expense Claim
Submit expense claims for reimbursement. Start a new claim and add expense items with descriptions, amounts, and categories. Each expense item requires receipts and proof of payment.
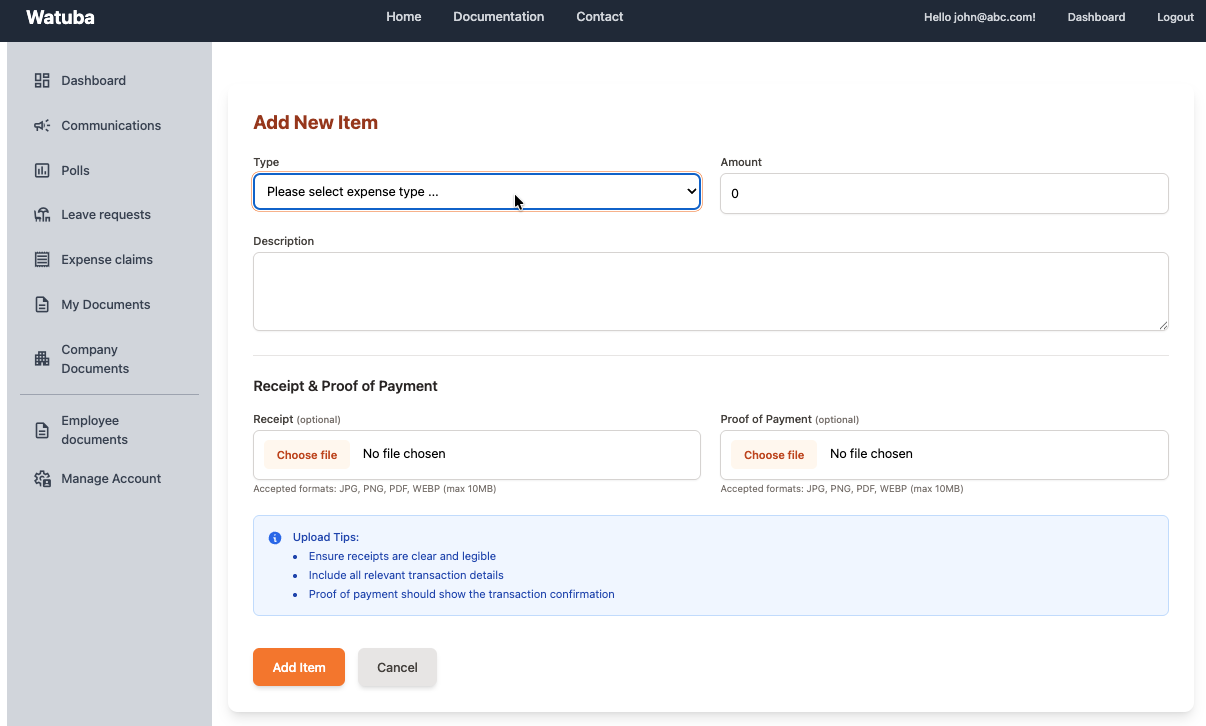
Screenshot Placeholder: Create expense claim form
Adding Expense Items
Add line items to your expense claim. Choose the expense category, enter the amount, and upload supporting documents (receipts and proof of payment). You can add as many items as needed.
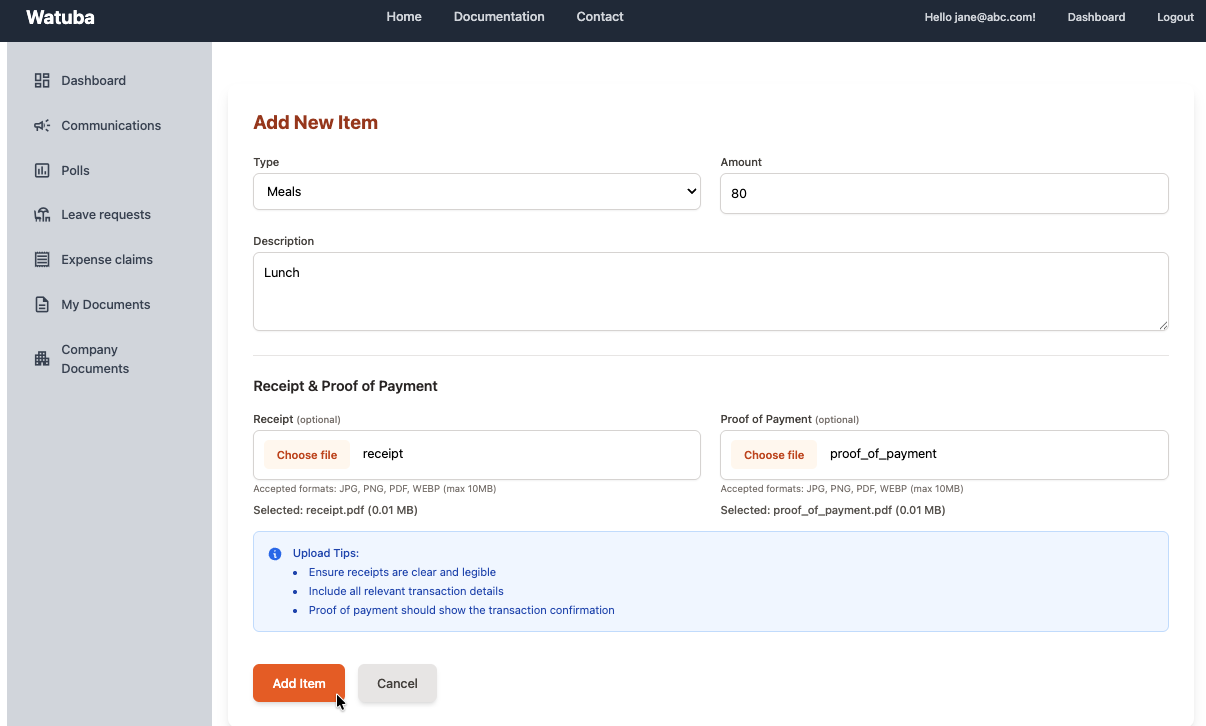
Screenshot Placeholder: Add expense items interface

Screenshot Placeholder: Add expense items interface
Submitting Your Expense Claim
Once you've added all your expenses and supporting documents, review your claim and submit it for approval. You can only submit a claim when all items have both receipt and proof of payment.

Screenshot Placeholder: Submit expense claim confirmation
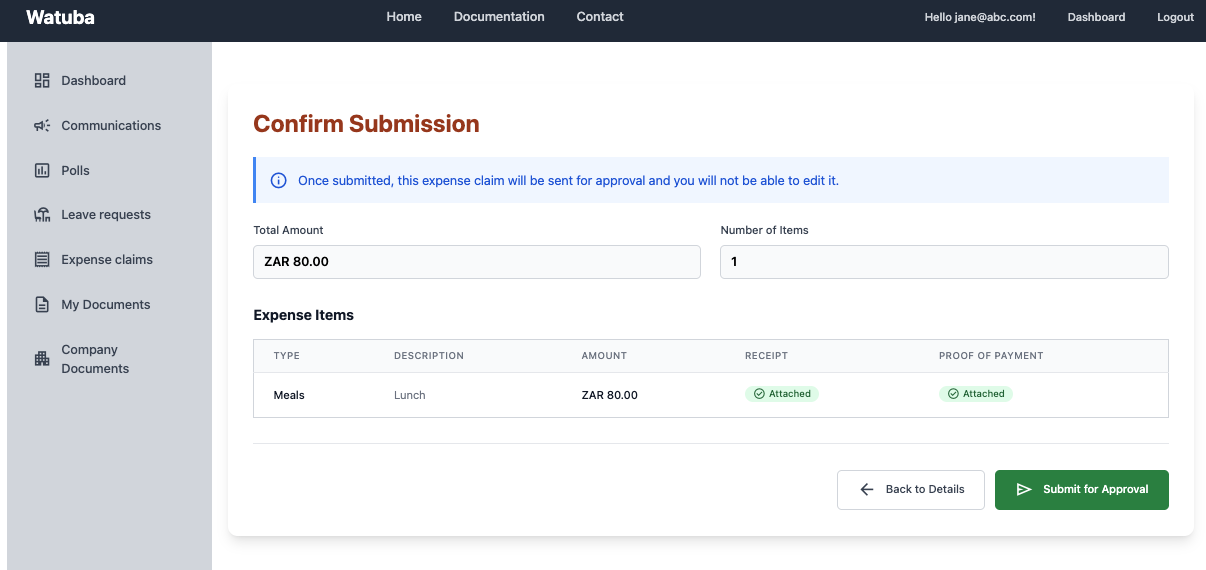
Screenshot Placeholder: Submit expense claim confirmation
Screenshot Placeholder: Submit expense claim confirmation
Approving Expense Claims (Line Managers)
As a line manager, review and approve or reject expense claims from your team members. Only line managers see expense claims from their subordinates. Provide feedback or comments when rejecting claims.
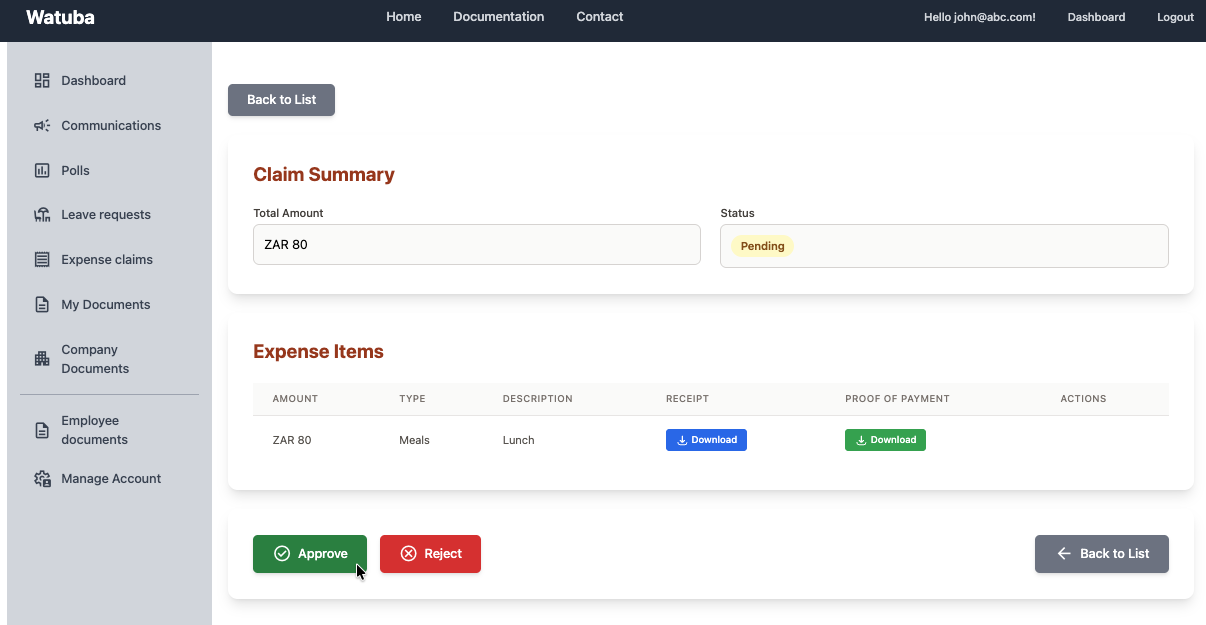
Screenshot Placeholder: Expense claim approval interface
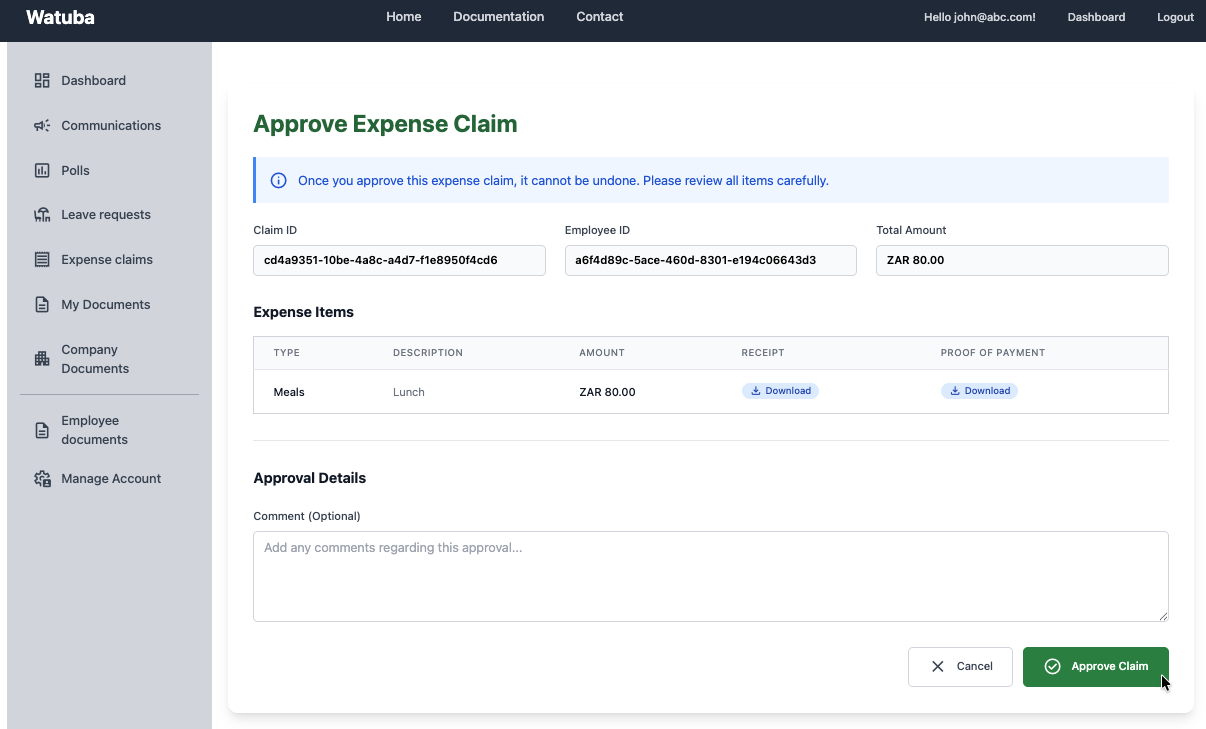
Screenshot Placeholder: Expense claim approval interface
Tip: Review all supporting documents carefully before approving. Rejected claims are returned to the employee for revision.
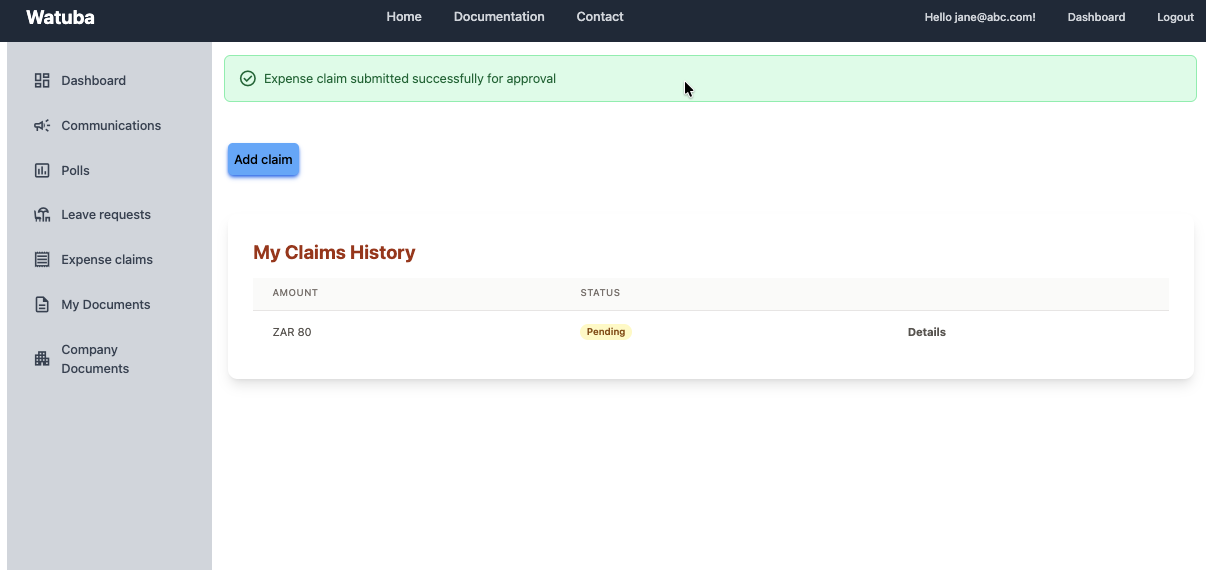
Tracking Claim Status
Track the status of your expense claims throughout the approval process. View whether a claim is in draft, pending approval, approved, rejected, or paid status.

Screenshot Placeholder: Expense claim history and status tracking
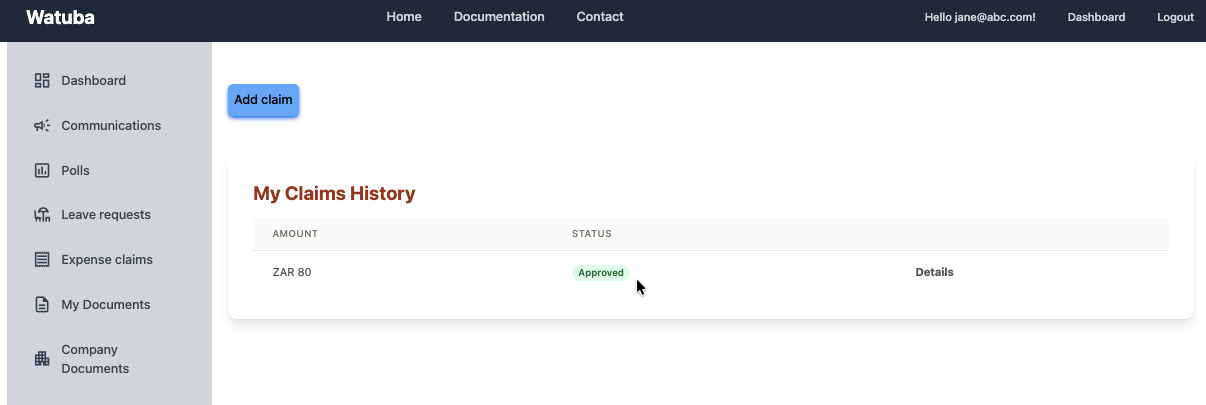
Screenshot Placeholder: Expense claim history and status tracking
Frequently Asked Questions
How do I reset my password?
Visit the login page and click "Forgot Password". Enter your email address and follow the instructions sent to your email to reset your password.
Can I edit a submitted expense claim?
Once an expense claim is submitted, it becomes read-only. If you need to make changes, your line manager can reject the claim and send it back for revision.
How are weekends and public holidays handled in leave calculations?
Watuba automatically excludes weekends and public holidays from leave day calculations. The system calculates only working days for your leave requests.
Who can see my personal documents?
Your personal documents are only accessible to you and your organization's administrators. Line managers and other employees cannot access your private documents.
What happens if I lose my phone or need to access my account from a different device?
You can log in to Watuba from any device using your email and password. Your data is securely stored and accessible from anywhere.
Need Help?
Contact Support
Have a question or issue? Reach out to our support team via email or contact form.
Contact Us →Report a Bug
Found an issue? Let us know so we can fix it and improve your experience.
Report Issue →